Easy Crochet Daisy Stitch Basket Pattern (Step-by-Step)
A floral daisy stitch adds a sweet, textured charm to your handmade items, turning a simple cotton cord into a spring-inspired accessory. This project produces a soft yet sturdy fabric that feels satisfying to hold, making it a favorite for beginners who want to move beyond basic stitches. You will learn the mechanics of the daisy stitch, which relies on pulling loops through clusters to create distinct petal shapes across the surface. It is a relaxing way to spend a rainy afternoon, resulting in a decorative basket that brings a touch of nature onto your shelves or side tables.
Why You’ll Love This Pattern
The Classic Crochet Storage Basket is a functional home staple that transforms a single ball of bulky yarn into a sturdy vessel for organizing craft supplies, keys, or bathroom essentials. Because it uses a thick cotton cord or super bulky yarn worked with a large hook, the project grows rapidly, making it an excellent choice for a weekend afternoon of crafting. The rigid construction comes from holding the yarn at a consistent tension, which creates a structured fabric that stands upright without collapsing. You will find this pattern especially helpful for clearing out cluttered tabletops using minimal yardage.
I managed to finish two of these in an afternoon. The stitches are firm enough that the basket holds its shape even when filled with heavy yarn cakes.
— Sarah, home organizer
Pattern Overview & Skill Level
- Skill Level: Beginner
- Approximate Time: 2 hours
- Construction: Worked in continuous rounds from a circular base, moving upward to create the vertical sides.
- Finished Dimensions & Sizing: 6 inches in diameter and 5 inches in height.
Materials & Supplies Needed
- Yarn: Super Bulky #6 weight, 100% cotton cord or cotton-blend yarn, approximately 120 yards.
- Hook Size: 9.0 mm (M/N-13).
- Notions: Tapestry needle for weaving in ends, stitch marker for keeping track of the round start.
- Safe yarn substitutions: You may use two strands of Worsted #4 weight cotton yarn held together to achieve the same gauge. Using acrylic yarn will result in a softer, less structured basket that may slouch slightly.
Stitch Guide & Abbreviations (US Terms)
- ch = chain
- st/sts = stitch/stitches
- sc = single crochet
- inc = increase (work 2 sc in the same stitch)
- sl st = slip stitch
- BLO = back loop only (insert hook under the back loop of the V-shape on top of the stitch)
- MR = magic ring
Basket Base
- Rnd 1: Work 6 sc into a magic ring (6 sts).
- Rnd 2: Work 2 sc in each st around (12 sts).
- Rnd 3: *1 sc in next st, inc in next st; repeat from * around (18 sts).
- Rnd 4: *1 sc in next 2 sts, inc in next st; repeat from * around (24 sts).
- Rnd 5: *1 sc in next 3 sts, inc in next st; repeat from * around (30 sts).
Basket Sides
- Rnd 6: Working in BLO for this round only, work 1 sc in each st around (30 sts).
- Rnd 7-14: Work 1 sc in each st around (30 sts).
- Rnd 15: Sl st in each st around to create a finished edge. Fasten off and weave in your ends securely.
Care & Washing Instructions
- Hand wash your basket in cool water with a mild detergent to prevent the cotton fibers from shrinking.
- Reshape the basket while it is damp by pushing the walls outward and ensuring the base remains flat.
- Lay the item flat on a towel to air dry completely, away from direct sunlight, to maintain the color and structure.
Pro Tips & Common Mistakes to Avoid
Maintaining a tight, consistent tension is essential for this project. If your stitches are too loose, the basket will not hold its shape; try going down a hook size if you find your fabric is limp. Always place a stitch marker in the first stitch of every round to avoid losing your count in continuous spiral rounds. Weave your yarn ends in by moving the tapestry needle through the base of the stitches in two different directions to ensure they remain hidden and secure. If you wish to make a larger basket, simply add more increase rounds at the base, keeping in mind that you will need significantly more yarn to maintain the height proportions.
Frequently Asked Questions
Can I use acrylic yarn instead of cotton?
You can use acrylic yarn, but the basket will be significantly softer and may not stand up on its own. If you use acrylic, consider using a hook one size smaller than recommended to create a denser fabric.
How do I adjust the size of the basket?
To make the base wider, continue the increase pattern by adding one additional stitch between increases every round. If you want a taller basket, simply add more rounds of plain single crochet before finishing.
Is this project suitable for a total beginner?
Yes, this is an excellent first project. It covers the magic ring, basic increases, and working in rounds, which are the fundamental techniques used in almost all three-dimensional crochet projects.
May I sell baskets made from this pattern?
You are welcome to sell finished items made from this pattern at small-scale craft fairs or online markets. Please credit the design to this tutorial in your product listings.
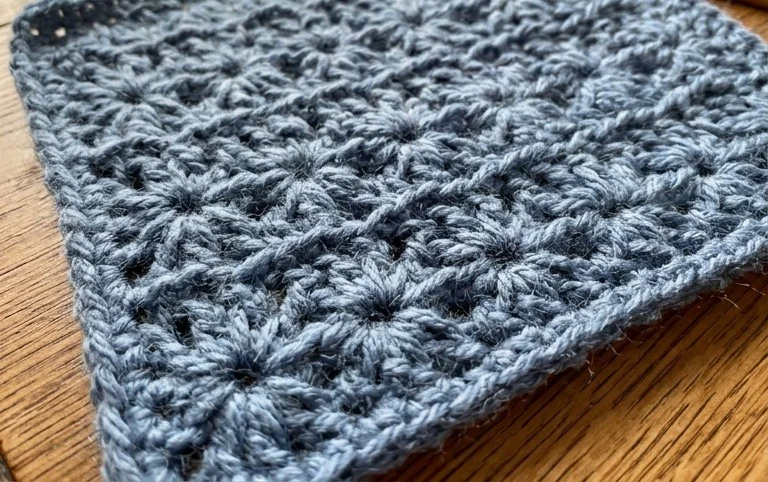
Your finished daisy basket brings a lovely handmade touch to any room, holding everything from spare buttons to fresh succulents with ease. You can adjust the scale by working more rounds to create a larger bin or choose muted sage green yarn for a more subtle, earthy look. Tag your project online if you decide to share your work with others, as it helps fellow crafters see how these petals turn out in different colors. Visit our homepage for more free patterns to fill your home with handmade goods.