Easy Crochet Pokeball Bag Pattern: Step-by-Step Guide
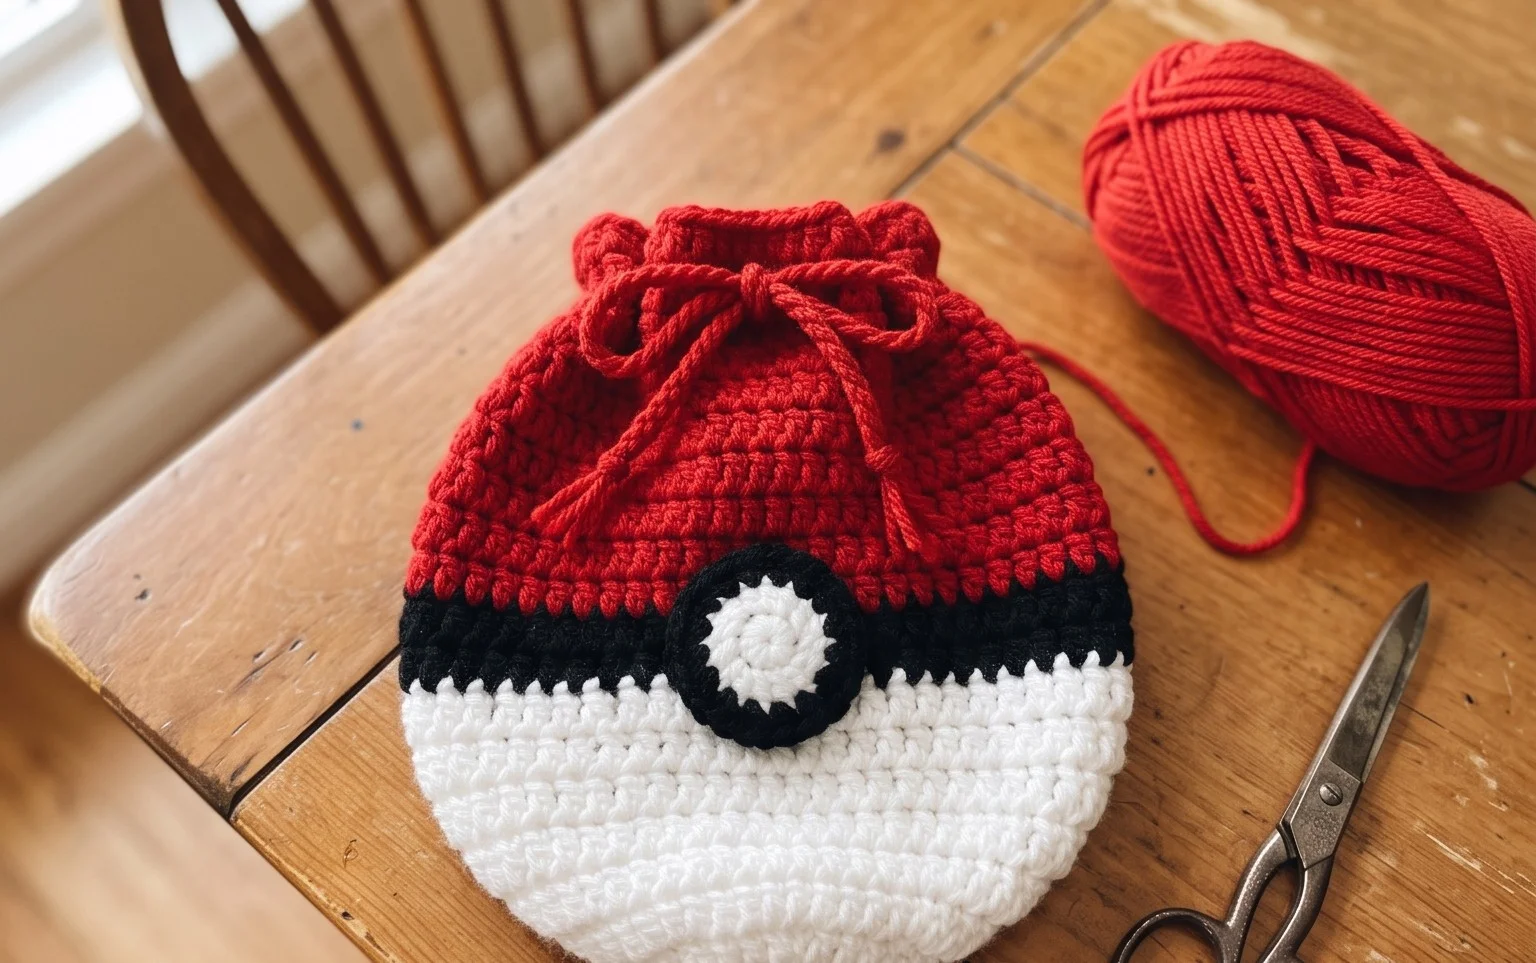
Bright red, crisp white, and deep black yarn colors create this classic circular pouch that mimics a favorite gaming icon. This small bag has a dense, sturdy bottom and a soft drawstring top that holds small treasures like dice, coins, or spare needles without spilling them. Beginners appreciate how the circular construction avoids complex joining methods while teaching steady tension control. You will master working in a continuous spiral to build the sides, eventually creating a simple mesh row for your cord. This satisfying project makes a thoughtful gift for gamers and remains a handy accessory for organizing your craft supplies.
Why You’ll Love This Pattern
This simple crochet drawstring pouch uses basic single crochet stitches worked in a continuous spiral, making it an ideal project for those who want to practice consistent tension. The bag relies on a sturdy base and a mesh-style eyelet round to hold the drawstring, creating a functional item that works up in just a few hours. Because it requires minimal yardage, it is a perfect way to use up leftover cotton yarn from larger projects. The resulting fabric is dense and durable, ensuring that small items like stitch markers, jewelry, or coins remain secure inside.
I finished this pouch in one afternoon while watching a movie. The instructions were very easy to follow and the size is exactly right for carrying my spare hooks on the go.
— Sarah, hobbyist crocheter
Pattern Overview & Skill Level
- Skill Level: Beginner
- Approximate Time: 2–3 hours
- Construction: Working in continuous rounds for the base and sides, with a perforated round for the drawstring
- Finished Dimensions: 5 inches tall by 4 inches wide when laid flat
Materials & Supplies Needed
- Yarn: Worsted weight (#4) cotton yarn, approximately 60 yards. Cotton is recommended for its lack of stretch and high durability.
- Hook Size: 4.5 mm (US 7)
- Notions: Tapestry needle for weaving in ends, a locking stitch marker to keep track of the start of rounds, and 12 inches of cotton cord or ribbon for the drawstring.
- Safe yarn substitutions: Acrylic yarn of the same weight is a suitable alternative, though it will result in a slightly softer and more pliable bag compared to cotton.
Stitch Guide & Abbreviations (US Terms)
- MR: Magic Ring
- ch: Chain
- sc: Single crochet
- inc: Increase (work 2 sc in the same stitch)
- sl st: Slip stitch
- st/sts: Stitch/stitches
- yo: Yarn over
- dc: Double crochet
- …: Repeat the instructions between the asterisks as indicated
Step-by-Step Pattern Instructions
Pouch Base and Body
- Rnd 1: Start with a MR and work 6 sc into the ring. (6 sts)
- Rnd 2: Work 2 sc in each st around. (12 sts)
- Rnd 3: 1 sc, inc, repeat from * to * 6 times. (18 sts)
- Rnd 4: 2 sc, inc, repeat from * to * 6 times. (24 sts)
- Rnd 5: 3 sc, inc, repeat from * to * 6 times. (30 sts)
- Rnd 6: 4 sc, inc, repeat from * to * 6 times. (36 sts)
- Rnd 7: Work sc in each st around in the back loops only (BLO). (36 sts)
- Rnds 8–20: Work sc in each st around. (36 sts)
Eyelet Row and Finishing
- Rnd 21: dc, ch 1, skip 1 st, repeat from * to * 18 times. (18 dc, 18 ch-spaces)
- Rnd 22: Work 1 sc in each dc and 1 sc in each ch-space around. (36 sts)
- Rnd 23: Sl st in each st around to create a finished edge. Fasten off and weave in all ends securely.
Assembly
Thread your cord or ribbon through the eyelets created in Rnd 21. Weave the cord in and out, passing it behind the dc stitches and in front of the skipped stitches. Once the cord is threaded all the way around, tie the ends together in a secure knot. Trim the excess cord if necessary.
Care & Washing Instructions
- Hand wash the finished pouch in cool water with a mild detergent to prevent the cotton fibers from fraying.
- Lay the item flat on a clean towel and reshape it to its original dimensions while damp to ensure it dries evenly.
- Avoid using a tumble dryer, as high heat can shrink the cotton and distort the shape of the bag.
Pro Tips & Common Mistakes to Avoid
Maintain consistent tension by holding your yarn with a steady grip throughout the entire project; fluctuations in tension will result in an uneven shape. Always place a stitch marker in the first stitch of every round to avoid losing your place, especially when working the 13 rounds of identical sc stitches. Weave your yarn tails in horizontally and vertically through the back of the stitches to ensure they remain invisible and do not pull loose over time. If you decide to make the pouch larger, remember that increasing the diameter of the base will require significantly more yarn for the sides, so calculate your yardage needs accordingly.
Frequently Asked Questions
Can I use a larger hook to make the bag bigger?
Using a larger hook will increase the size of the stitches and the overall bag, but it will also create larger gaps in the fabric, which may cause small items to slip through. Stick to the suggested hook size for the best structural integrity.
Is this pattern suitable for complete beginners?
Yes, this is an excellent starter project. It focuses on basic increases and single crochet stitches, providing a simple way to practice working in continuous rounds without the complexity of color changes or shaping.
Can I sell the items I make from this pattern?
You are welcome to sell finished items made from this pattern, but please provide credit to the designer in your product listings. Do not redistribute the pattern text itself.
What should I do if the pouch base starts to curl?
A slight cup is normal during the first few rounds of a flat circle, but if it curls excessively, your tension is likely too tight. Try relaxing your grip on the yarn or switching to a hook one size larger for the base rounds only.
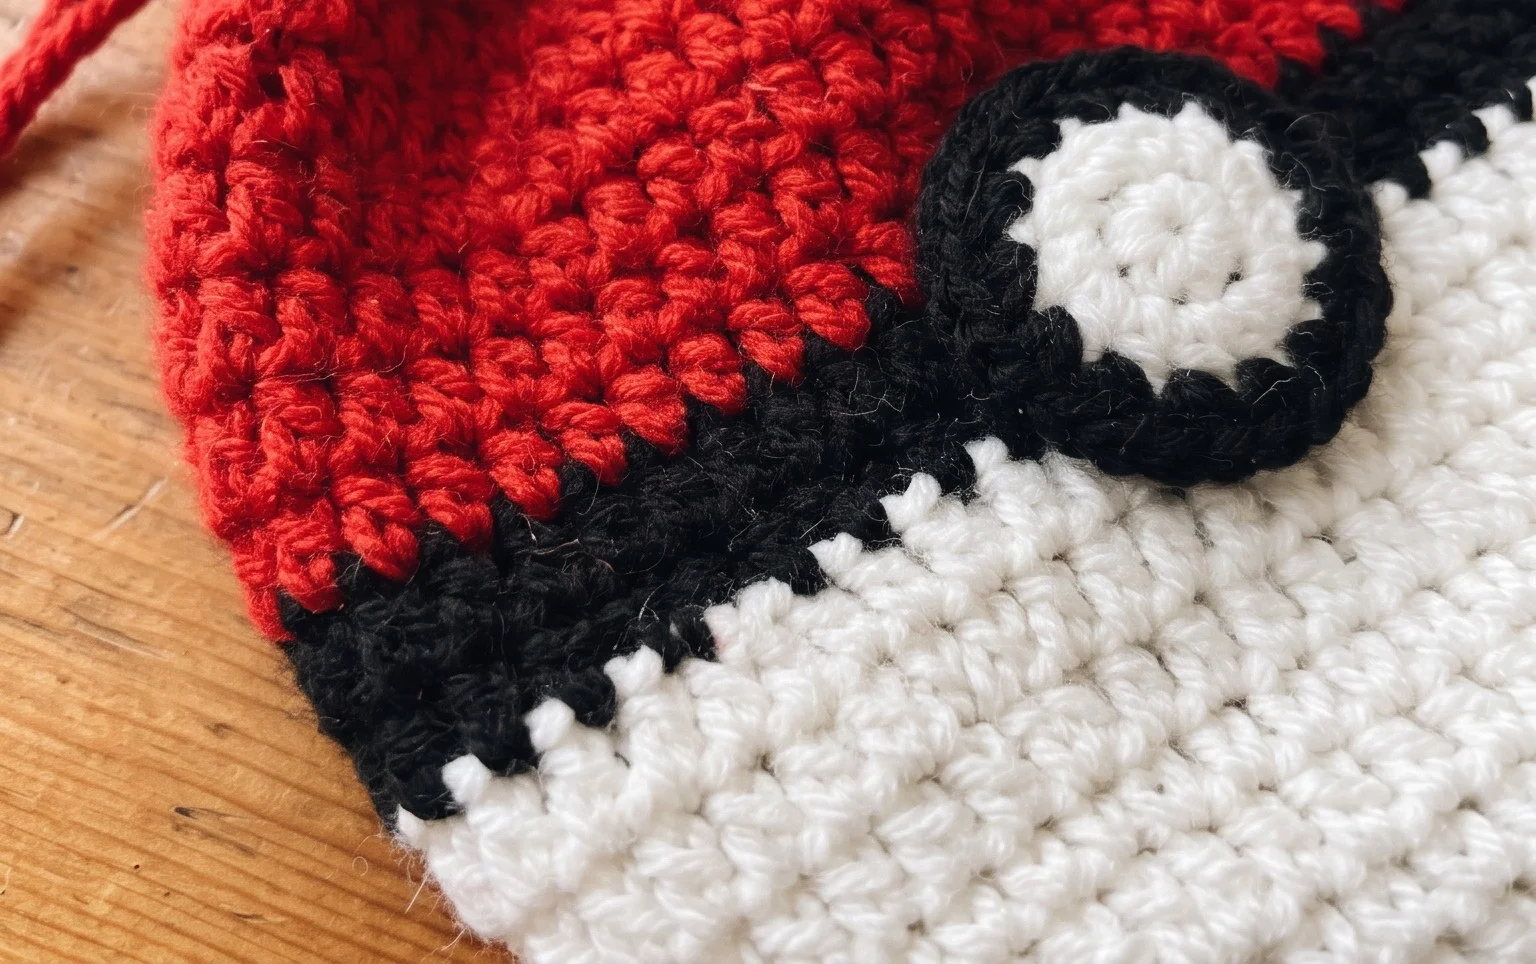
Your new pouch provides a fun, functional way to carry your belongings while showing off a playful design. You can swap the standard colors for team-inspired shades to match your preference or use chunky yarn for a larger version that fits a smartphone. Post a photo of your finished work on social media to show others how yours turned out. Please browse the rest of the blog for additional free projects that help you use up your remaining yarn scraps and build your skills.