Easy Star Stitch Hat: Free Crochet Pattern & Video Guide
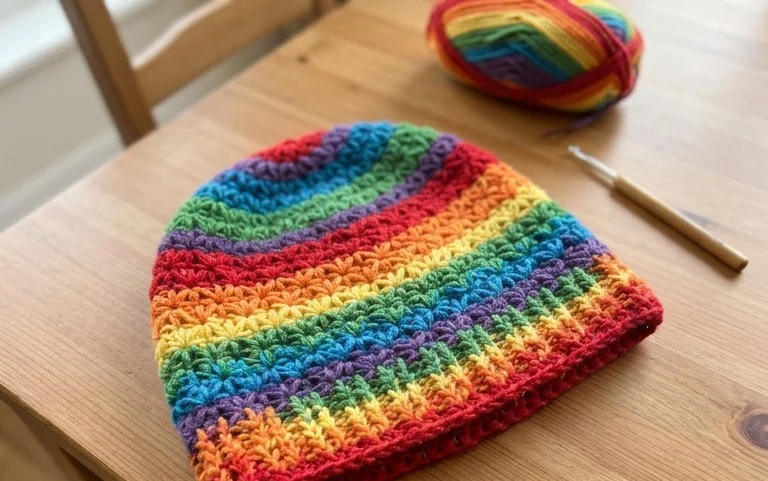
The star stitch creates a dense, floral-like texture that feels incredibly cozy against the skin during cold winter mornings. This project works up surprisingly fast, making it a reliable choice for anyone needing a last-minute gift or a personal accessory that keeps ears warm without feeling bulky. You will find that the rhythm of the stitches settles into a meditative pace after the first few rounds. This guide walks you through the foundation chain, the specific grouping required for those characteristic stars, and the final assembly. It is an approachable challenge for those looking to expand their crochet repertoire beyond basic squares.
Why You’ll Love This Pattern
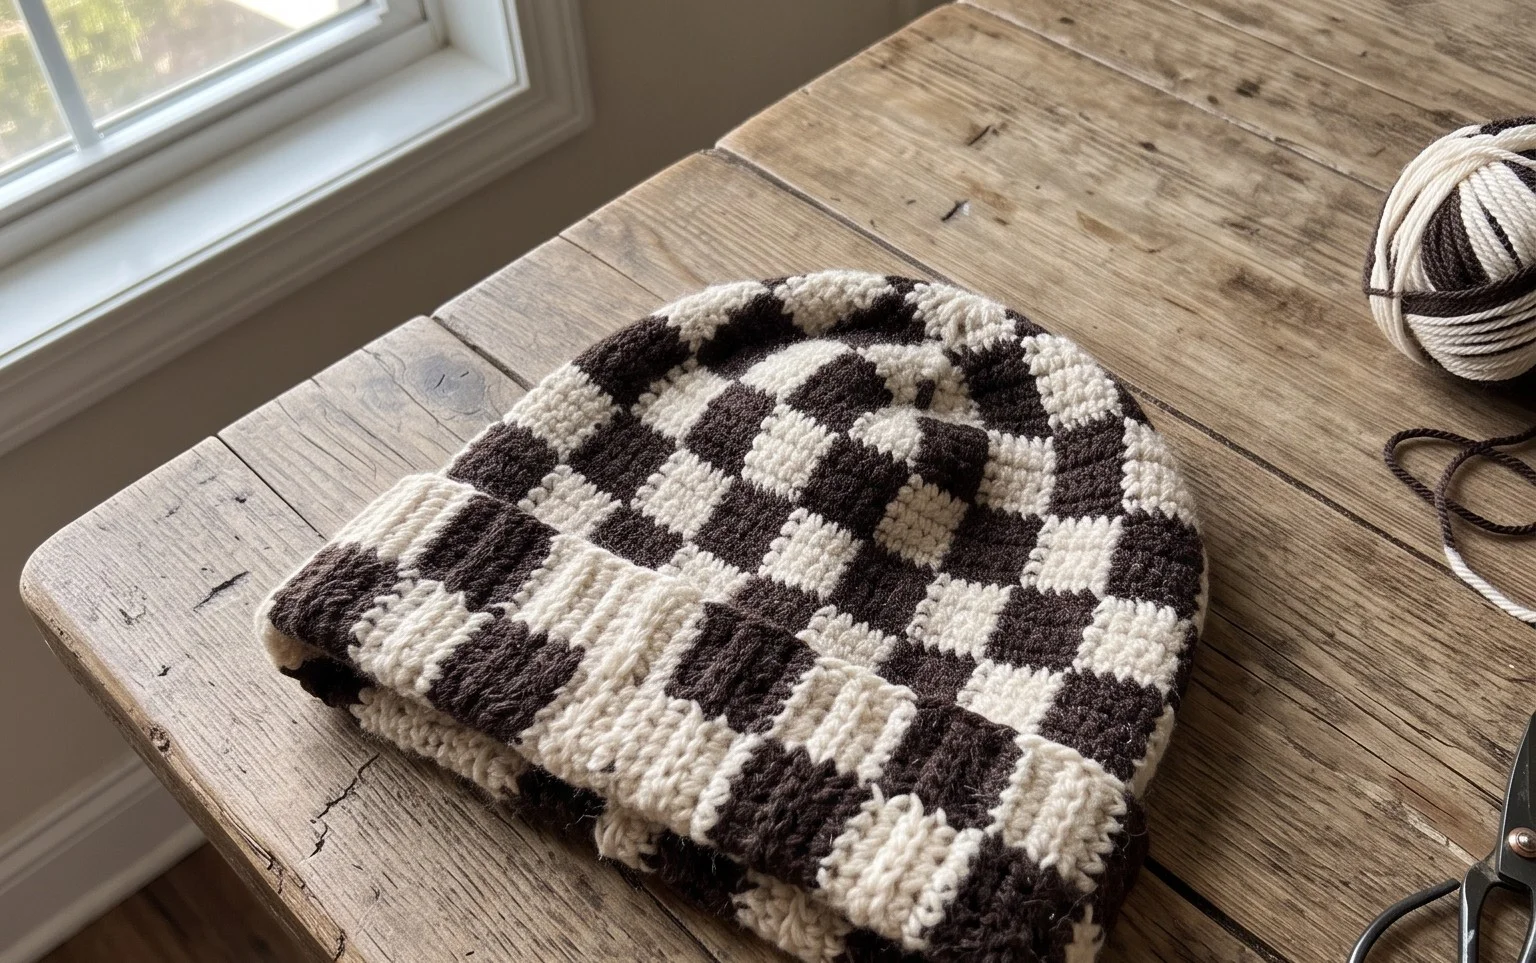
This beginner-friendly crochet beanie relies on a simple repeating pattern of half double crochet stitches worked in the back loops, creating a sophisticated ribbed texture that looks like high-end knitwear. Because it uses a medium weight yarn and a relatively large hook, you can complete the entire project in a single evening, making it a reliable choice for last-minute gifts or charity donations. The fabric provides excellent stretch, ensuring a comfortable fit for a wide range of head sizes without needing complex shaping or color changes. You will appreciate how quickly the rows grow, providing immediate satisfaction as the hat takes shape under your fingers.
I managed to finish this hat in just a few hours during a movie night. The instructions were very easy to follow and the finished hat is incredibly warm for winter.
— Sarah, hobbyist crocheter
Pattern Overview & Skill Level
- Skill Level: Beginner
- Approximate Time: 3 to 4 hours
- Construction: Flat rectangular panel worked in rows, then seamed and gathered at the top to form a beanie.
- Finished Dimensions: 9 inches tall by 18 inches circumference (unstretched), fits most adults.
Materials & Supplies Needed
- Yarn: Worsted weight (#4), wool or acrylic blend, approximately 200 yards.
- Hook Size: 5.5 mm (US I-9).
- Notions: Tapestry needle for seaming, stitch markers, and a tape measure.
- Safe yarn substitutions: You can use a DK weight yarn for a lighter, more delicate texture, though you may need to add extra rows to reach the desired circumference. Avoid using heavy, bulky yarns as they will make the fabric too stiff to comfortably fit around the head.
Stitch Guide & Abbreviations (US Terms)
- ch: chain
- hdc: half double crochet
- BLO: back loop only (inserting the hook only through the rear loop of the stitch from the previous row)
- st/sts: stitch/stitches
- sl st: slip stitch
- YO: yarn over
Step-by-Step Pattern Instructions
Main Body Panel
The hat is worked as a flat rectangle, which is later folded and joined to create the tube shape.
- Row 1: Ch 40. Hdc in the third ch from hook and each ch across. (38 sts)
- Row 2: Ch 2, turn. Hdc in BLO of every st across. (38 sts)
- Rows 3-50: Repeat Row 2 until the piece measures approximately 18 inches in length when laid flat.
Assembly and Finishing
- Seaming: Fold the rectangle in half so the short edges meet. Using your tapestry needle and a length of yarn, whip stitch the two short edges together to form a tube.
- Gathering the Top: With your needle and a new piece of yarn, weave the yarn in and out along the top edge of the tube. Pull the yarn ends tightly to gather the top of the hat closed. Secure with a double knot.
- Final Weaving: Turn the hat right side out and weave in all loose ends on the interior of the beanie to keep the exterior clean and professional.
Care & Washing Instructions
- Hand wash the beanie in cool water using a mild detergent specifically formulated for wool or delicates.
- Avoid wringing out the hat; instead, gently press excess water out using a towel and lay the item flat on a dry surface to air dry.
- Reshape the beanie while it is damp to ensure the ribbing retains its elasticity and form.
Pro Tips & Common Mistakes to Avoid
- Keep a consistent tension throughout the rows; if your stitches are too tight, the fabric will lose its characteristic stretch and the hat will become difficult to pull over the head.
- Place a stitch marker in the first stitch of every row to ensure you do not inadvertently skip the final stitch, which would result in a wavy or uneven edge.
- Weave your ends in multiple directions—horizontally and then vertically—to ensure they remain locked in place during regular wear and washing.
- Adjust the size of the hat by adding or subtracting rows; each row adds roughly 0.4 inches to the circumference, so you can easily customize the fit for a smaller or larger head.
Frequently Asked Questions
Can I use a cotton yarn instead of wool for this pattern?
Yes, but keep in mind that cotton yarn has very little natural stretch compared to wool or acrylic. If you use cotton, you might need to add 5-8 extra rows to the length to ensure it fits comfortably around the head.
Is this pattern suitable for someone who has never held a crochet hook before?
Absolutely. The only stitch required is the half double crochet, and working in the back loop is a technique that provides instant visual feedback, making it an ideal first project.
Can I sell the hats I make from this pattern?
You are welcome to sell the finished items you create, provided you credit the pattern design. Please do not sell or redistribute the written pattern itself.
How do I know if my tension is correct?
Your stitches should feel soft and pliable. If the fabric feels stiff or creates visible gaps between stitches, try moving up to a 6.0 mm hook to create a looser, more flexible drape.
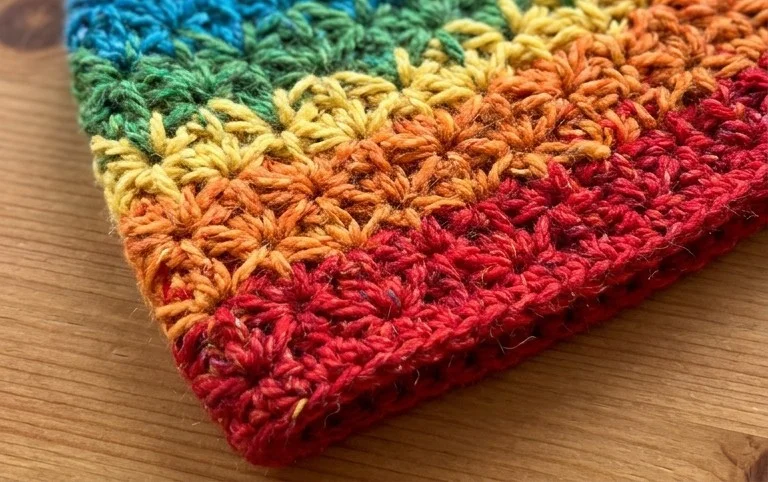
Your finished hat brings a handmade warmth to any winter coat or scarf. Try working the pattern in a variegated yarn to make the star details pop against a darker base color or add a faux fur pompom for a playful finish. Sharing your progress on social media helps others find inspiration for their own yarn stash projects, so please tag us in your finished work. Explore our site for more free patterns that utilize similar techniques to help you fill your closet with handcrafted staples throughout the coming year.