Easy Ribbed Checker Beanie: Free Crochet Pattern Tutorial
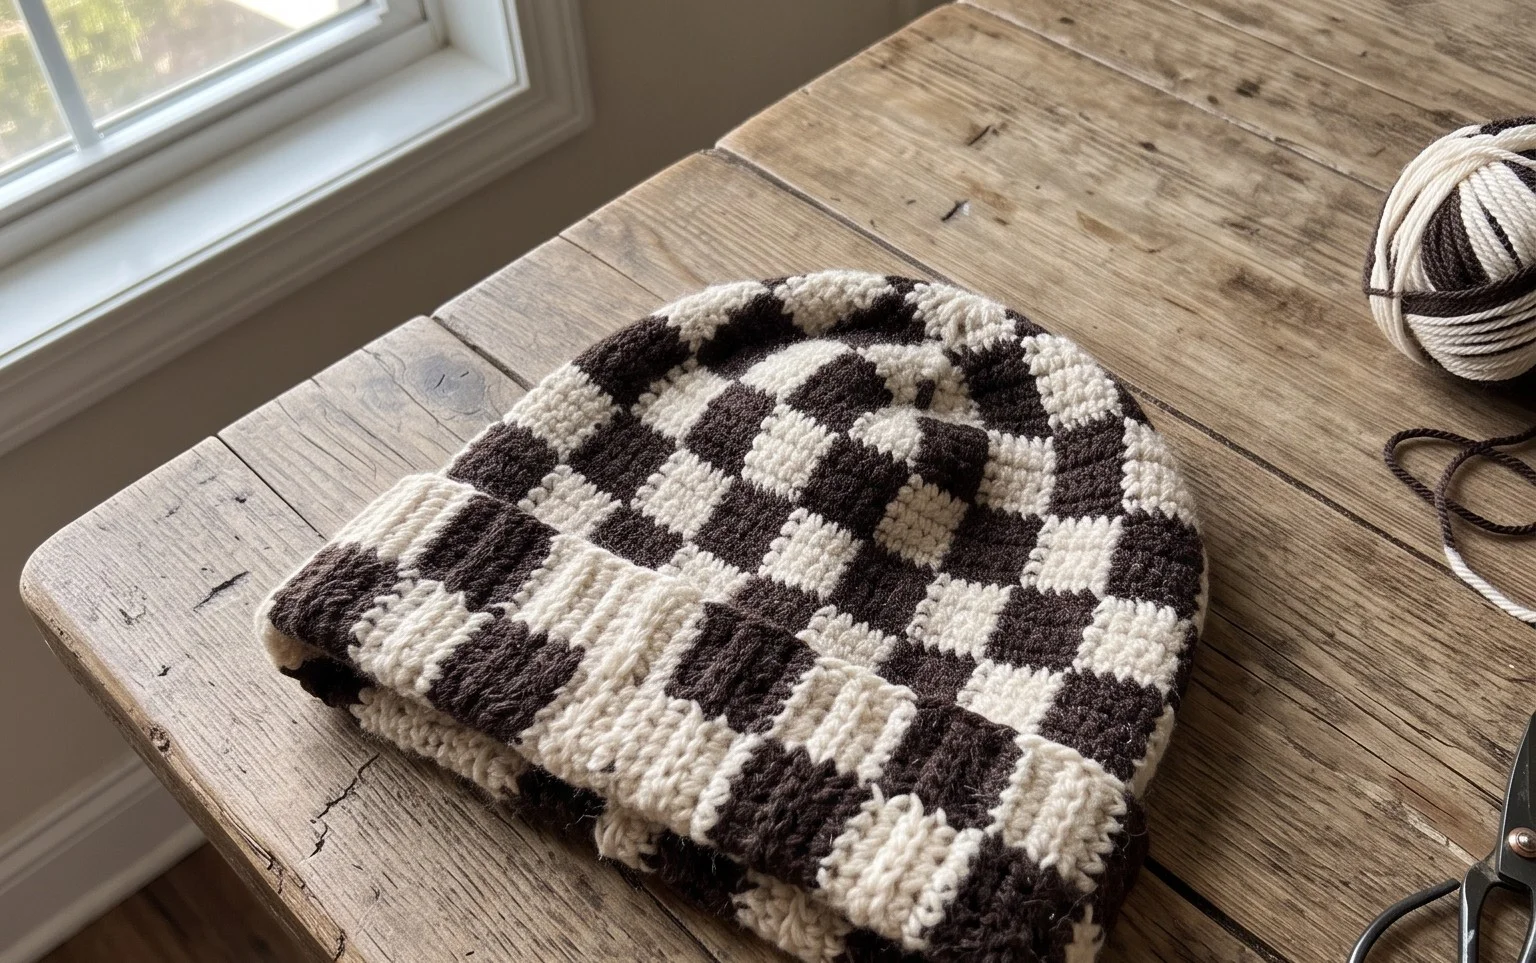
This beanie has a satisfying weight and squishy texture that makes it hold its shape perfectly through a long winter. The ribbed surface mimics a traditional knit look, yet it is created entirely with beginner-friendly half-double crochet stitches worked in the back loops. You will appreciate how quickly the rows build up, turning a simple flat rectangle into a cozy, fitted accessory. It fits snugly against the ears, offering warmth without bulk. This project provides a great opportunity to practice basic seaming techniques and tension control while ending up with a stylish piece you will actually wear all season long.
Why You’ll Love This Pattern
This crochet ribbed beanie pattern uses a simple construction method that creates a professional, store-bought look with minimal effort. You work the hat as a flat rectangle, which means you avoid complex shaping or counting increases in the round. The resulting fabric is stretchy and comfortable, fitting a wide range of adult head sizes thanks to the natural elasticity of the half-double crochet ribbing. Because it uses a bulky weight yarn, you can finish this project in a single afternoon, making it an excellent choice for last-minute gifts or stocking your market inventory.
I was intimidated by patterns, but this simple rectangle method made my first wearable hat a total success in just two hours.
— Sarah, beginner crocheter
Pattern Overview & Skill Level
- Skill Level: Beginner
- Approximate Time: 2 to 3 hours
- Construction: Flat panel worked in rows, seamed to create a tube, and gathered at the crown
- Finished Dimensions & Sizing: 18 inches circumference (unstretched) by 9 inches height, fitting an average adult head
Materials & Supplies Needed
- Yarn: Bulky #5 weight, 100% acrylic or wool blend, approximately 150 yards.
- Hook Size: 6.0 mm (US J-10).
- Notions: Large-eye tapestry needle, stitch markers, scissors, and a measuring tape.
- Safe yarn substitutions: You may use a worsted weight #4 yarn held double to achieve the same gauge, or a light super-bulky #6 yarn, though you will need to adjust your starting chain length to hit the 9-inch target height.
Stitch Guide & Abbreviations (US Terms)
- ch = chain
- hdc = half double crochet
- BLO = back loop only (insert hook under the back loop of the stitch only)
- st/sts = stitch/stitches
- sl st = slip stitch
Step-by-Step Pattern Instructions
Hat Body
The hat is worked back and forth in rows. The height of your starting chain determines the length of the hat, and the number of rows determines the width.
- Row 1: Ch 30. Hdc in the third chain from the hook and in each chain across. Turn. (28 sts)
- Row 2: Ch 2 (does not count as a stitch). Hdc in BLO of the first stitch and in each stitch across. Turn. (28 sts)
- Rows 3-45: Repeat Row 2 until the piece measures approximately 18 inches unstretched.
- Finishing: Fasten off, leaving a long tail of about 15 inches for sewing.
Assembly
Fold the rectangle in half, matching the short ends together. Use your tapestry needle and the long tail to whip stitch the two short ends together, creating a tube. Once joined, weave your yarn through the edge of one opening, pulling tightly to close the hole at the top of the hat. Secure with a double knot. Turn the hat right side out.
Care & Washing Instructions
- Hand wash in cool water using a mild wool-safe detergent to maintain the integrity of the fibers.
- Do not wring or twist the damp hat; instead, lay it flat on a clean towel and roll the towel to remove excess moisture.
- Reshape the hat while wet and allow it to air dry on a flat surface away from direct heat sources to prevent stretching or felting.
Pro Tips & Common Mistakes to Avoid
Maintain consistent tension throughout the rows to prevent the rectangle from widening in the middle, which can cause the hat to fit unevenly. Always count your stitches at the end of every row; missing the last stitch of a row is the most common reason for a hat that tapers at one end. When seaming, use a mattress stitch or whip stitch that catches only the outer loops to keep the seam flat and invisible. To adjust the size for a larger head, simply work additional rows; each row adds roughly 0.4 inches to the total circumference, but keep in mind that this will require extra yardage.
Frequently Asked Questions
Can I use a different yarn weight for this pattern?
Yes, but you must adjust your starting chain to match the 9-inch height requirement. Using a thinner yarn will require more rows and a longer starting chain to achieve the same fabric density and fit.
Is this pattern suitable for someone who has never crocheted before?
Absolutely. It uses only the half double crochet stitch and requires no complex shaping, making it the ideal first project for a beginner who wants a functional finished item.
How do I know if the hat will fit correctly?
Check the fit by wrapping the finished rectangle around your head before seaming. It should feel snug but comfortable, as the BLO ribbing has significant natural stretch.
May I sell the hats I make from this pattern?
You are welcome to sell finished items made from this pattern, provided you credit the design. Please do not redistribute the pattern text or use these images as your own.
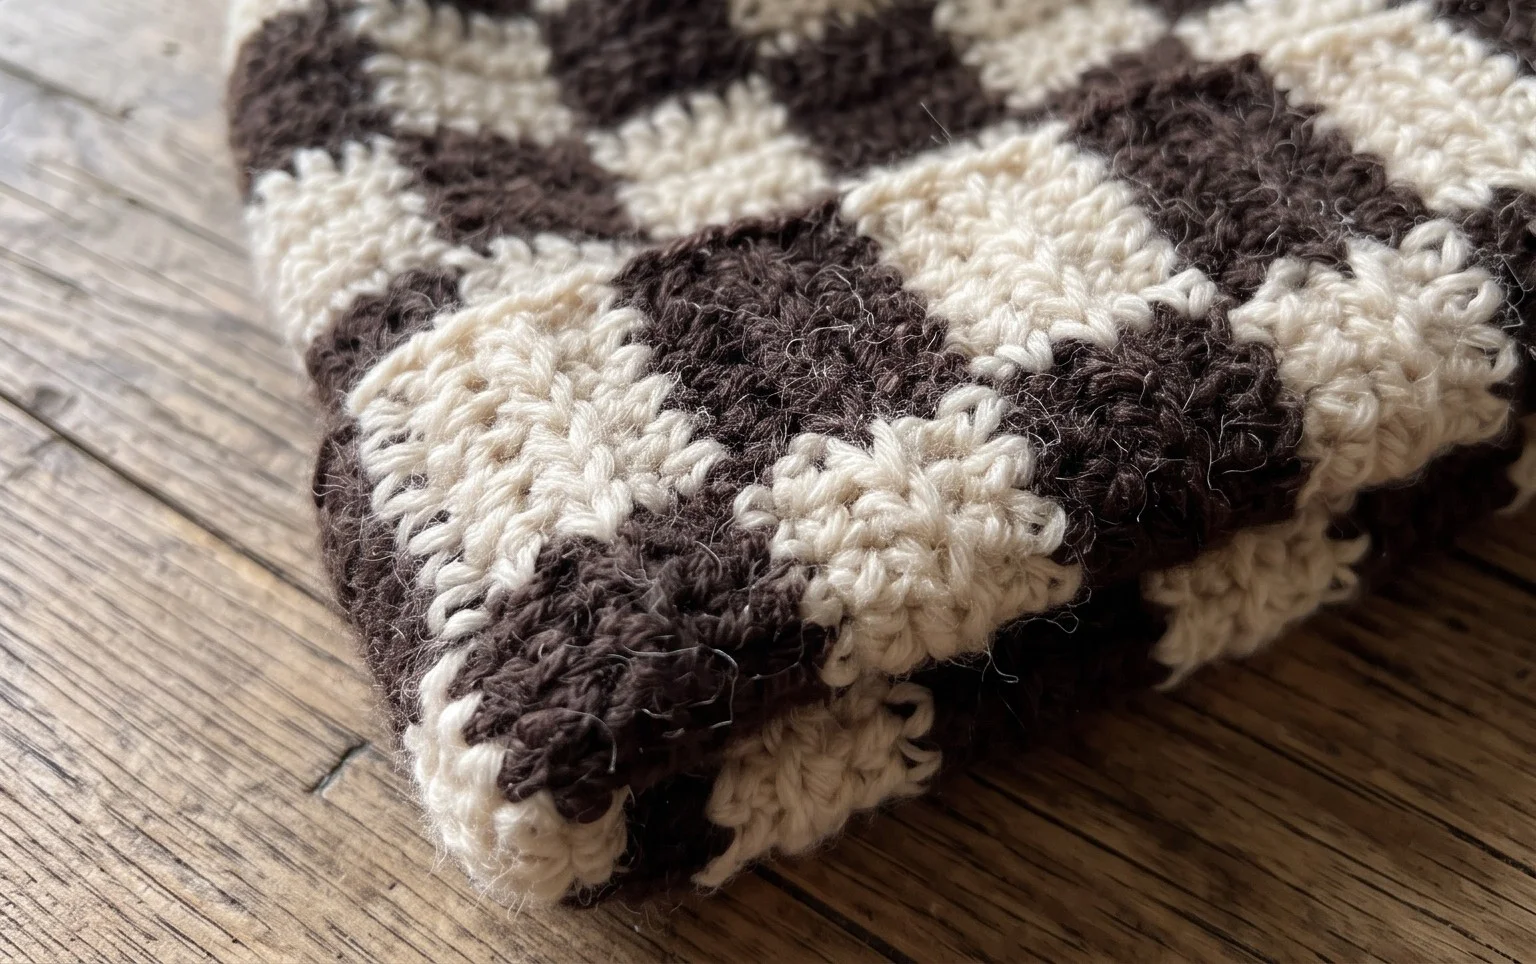
Your finished hat brings a handmade touch to any outfit, and you can easily switch up the mood by using a solid color yarn instead of the checker pattern. Making a second version with a folded brim or a large pom-pom on top changes the look entirely, so feel free to experiment with your leftovers. Please share your project photos on social media so others can see your color choices. You can find more free crochet patterns and tutorials available on the main blog page whenever you are ready for a new project.