Easy Crochet Baby Blanket Pattern: Step-by-Step Guide
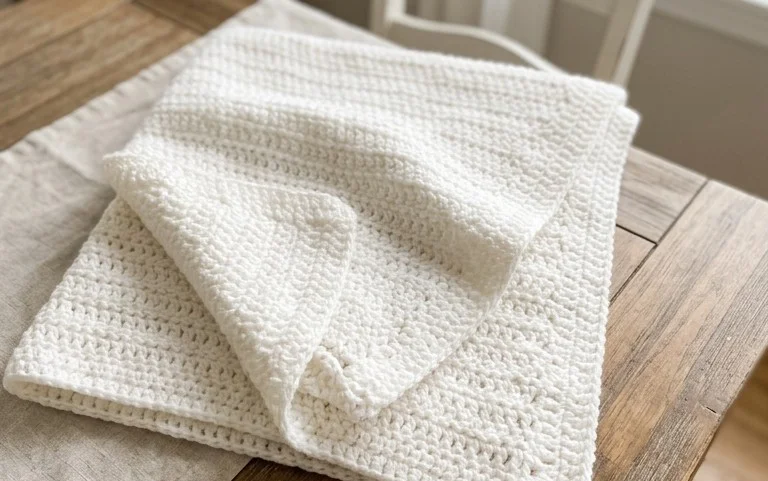
Soft to the touch and weighted just right, this blanket creates a gentle layer for a nursery or stroller walk. The finished fabric drapes beautifully with a subtle grid texture that feels sturdy yet flexible against delicate skin. Beginners find this project approachable because the repetitive motion of the hook keeps hands moving without requiring constant focus on complex counting. You will learn the classic shell stitch, which builds up rows quickly and prevents the fabric from curling at the edges. Gift makers appreciate how fast these blankets work up, leaving plenty of time to add custom color combinations for a handmade arrival.
Why You’ll Love This Pattern
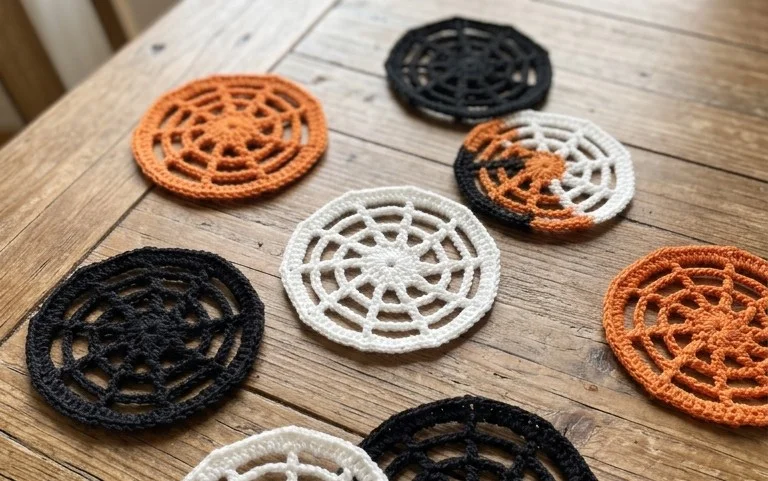
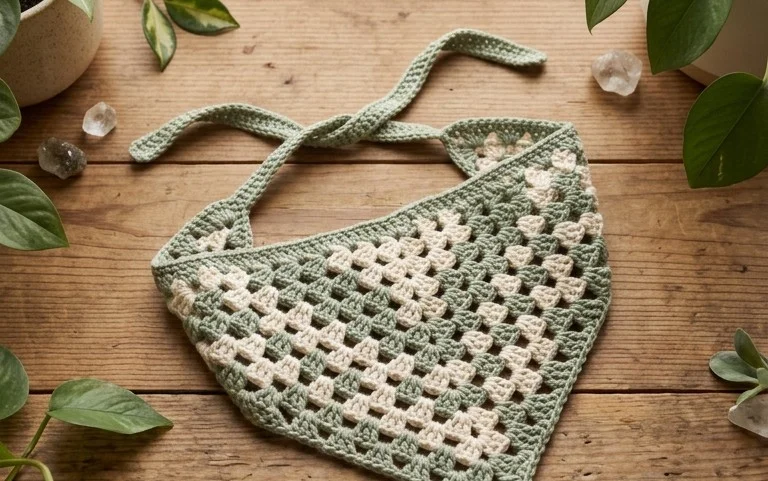
The Classic Crochet Granny Square is the quintessential building block of crochet. This pattern relies on a repetitive, rhythmic shell stitch that allows for mindless crafting while listening to a podcast or watching television. Because it works in rounds, you can stop at any size to create everything from simple coasters to intricate, heavy blankets. The design is exceptionally forgiving for beginners, as the hook is always inserted into the visible chain spaces rather than the tight tops of previous stitches. Using scrap yarn from your stash makes each square unique and helps reduce waste in your craft room.
I started these squares to clear out my leftover yarn scraps and ended up making a full-sized throw blanket. The rhythm of the stitches is incredibly soothing and easy to memorize after the first round.
— Sarah, hobbyist crocheter
Pattern Overview & Skill Level
- Skill Level: Beginner
- Approximate Time: 30 minutes per square
- Construction: Worked in joined rounds, starting from the center and expanding outward
- Finished Dimensions: Approximately 6 inches by 6 inches when using medium weight yarn
Materials & Supplies Needed
- Yarn: Worsted weight (#4), acrylic or cotton blend, approximately 20 yards per square.
- Hook Size: 5.0 mm (US H-8).
- Notions: Tapestry needle for weaving in ends, sharp scissors.
- Yarn Substitutions: Wool or alpaca can be substituted for a warmer feel, though these may result in a slightly larger or heavier square depending on the specific brand’s gauge. Ensure the fiber is machine washable if you plan on using these for a functional household item like a blanket.
Stitch Guide & Abbreviations (US Terms)
- ch: chain
- st/sts: stitch/stitches
- sl st: slip stitch
- dc: double crochet
- sp: space (the gap created by previous chains)
- cluster: a group of 3 dc stitches worked into the same space
Step-by-Step Pattern Instructions
Center and Foundation
- Rnd 1: Start with a slip knot on your hook. Chain 4 and sl st to the first chain to create a ring. Ch 3 (counts as first dc), work 2 dc into the ring, ch 2. Work a cluster of 3 dc, ch 2 into the ring. Repeat the cluster and ch 2 sequence two more times. Sl st to the top of the beginning ch-3 to join. (12 dc, 4 ch-2 spaces)
Expanding the Square
- Rnd 2: Sl st into the first corner ch-2 space. Ch 3, work 2 dc, ch 2, and 3 dc all into the same corner space. *Ch 1, skip 3 sts, move to the next corner space, work 3 dc, ch 2, 3 dc into that same space. Repeat from * twice more. Ch 1, sl st to the top of the beginning ch-3. (24 dc, 4 ch-2 corner spaces)
- Rnd 3: Sl st into the first corner. Ch 3, 2 dc, ch 2, 3 dc into the corner space. *Ch 1, work 3 dc into the next side ch-1 space, ch 1, work (3 dc, ch 2, 3 dc) into the corner. Repeat from * around, ending with a sl st to join. (36 dc, 8 ch-1 spaces, 4 corner spaces)
- Rnd 4: Continue as established. In every corner, work (3 dc, ch 2, 3 dc). In every side space along the edges, work a cluster of 3 dc. Chain 1 between all clusters. Sl st to join the round. (48 dc)
Finishing
After reaching your desired size, cut the yarn, leaving a six-inch tail. Pull the tail through the final loop on your hook. Use your tapestry needle to weave the end through the back of the stitches to secure it, ensuring the tail does not show on the front side of the square.
Care & Washing Instructions
- Hand wash or machine wash on a gentle cycle in cold water using mild detergent.
- Lay the square flat on a clean towel to air dry, reshaping it into a perfect square while damp.
- Avoid using a hot iron directly on the yarn, as this may melt synthetic fibers or compress the texture.
Pro Tips & Common Mistakes to Avoid
- Check your tension periodically; if your corners are curling, you may be working your stitches too tightly, or your chain-2 corner spaces may need to be chain-3.
- Place a stitch marker in the top of your starting ch-3 at the beginning of each round to easily identify where to join with a slip stitch at the end.
- Weave in your ends as you go if you are using multiple colors, as this prevents an overwhelming amount of finishing work at the end of the project.
- To adjust the size, simply continue working additional rounds until the square reaches your target dimensions, noting that each additional round increases the required yarn by approximately 15 percent.
Frequently Asked Questions
Can I use a larger hook for this pattern?
Yes, using a larger hook will result in a looser, airier square. This is a common technique when you want to achieve more drape for a summer-weight blanket.
How do I join multiple squares together?
You can join squares using a flat slip stitch seam, a whip stitch, or by crocheting them together with a single crochet join to create a decorative raised ridge.
Is this pattern suitable for complete beginners?
This is widely considered the best project for those learning to crochet because it uses only basic stitches and clear, repetitive spaces that are easy to locate.
May I sell items made from this pattern?
Most individual designers allow the sale of finished handmade items, but you should always check the specific terms provided by the pattern author if you are using a commercial source.
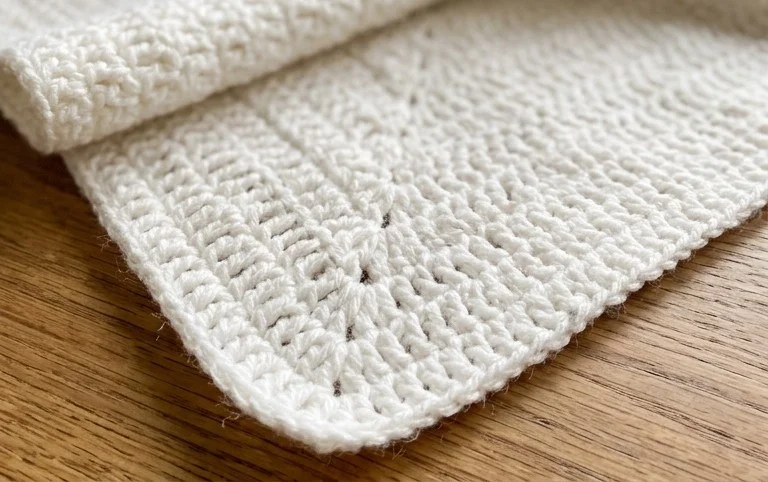
Wrapping your finished work around a newborn feels like a real achievement, especially after putting in those quiet hours of stitching. You can customize this piece by using cotton yarn for a lighter summer version or choosing a variegated wool for a bold effect that hides small mistakes. Sharing a photo of your color choices helps others gather ideas for their own nursery projects. Please visit the main project feed on my blog to browse more free patterns for your next afternoon hobby session.